How to Read Nautical Charts A Sailor’s Guide

Learning how to read nautical charts is probably the single most important skill you can have for safe boating. A chart isn't just a map. Think of it as a detailed language telling you everything about the water beneath and around you—from hidden dangers to safe passages. Once you master this skill, you'll be able to navigate with confidence, even if your GPS decides to take a day off.
Your Foundation for Safe Navigation
Before you even think about casting off, getting a handle on your nautical chart is the most critical skill in any mariner's toolkit. Look, modern GPS is a fantastic piece of tech, but it’s no substitute for the deep situational awareness a real chart provides. This guide is designed to move beyond theory and give you the practical, real-world skills you need to interpret water depths, identify navigational aids, and spot hazards before they become a serious problem.
This crucial skill has deep roots. The practice of creating and reading nautical charts really got going in the early 19th century when the U.S. government formalized hydrographic surveying. While the first laws were passed back in 1807, the Coast Survey wasn't permanently set up until 1832. The first official soundings? Those were taken in 1834 under the meticulous eye of Ferdinand Rudolph Hassler. The methods they developed were incredibly rigorous for their time.
Why Chart Reading Still Matters
Even with a boat full of advanced electronics, being self-reliant on the water is everything. When you develop your chart-reading abilities, you're building a foundational understanding of the marine environment that technology just can't replicate. It's a vital skill for anyone operating the different types of watercraft that depend on these charts for safe passage. This introduction lays the groundwork for the actionable techniques in the sections ahead, making sure you start your journey with a solid base.
A chart tells you what your GPS can't: the why behind your route. It shows you the shallow sandbar your GPS route narrowly avoids and the deep channel that offers safe harbor, empowering you to make smarter, more informed decisions on the water.
This guide will arm you with the knowledge to navigate safely, turning what looks like a complex document into your most trusted boating companion. Having the right skills is just as important as having the right gear, so be sure to check our guide on what to bring on a boat trip to ensure you're fully prepared for your adventure.
Decoding the Language of the Sea
Think of a nautical chart as a conversation with an old sea captain who knows every rock, wreck, and sandbar in the area. It's a rich visual language of symbols, colors, and notes that, once you learn it, turns a simple sheet of paper into your most trusted guide. It’s the key to truly seeing what lies beneath the waves.
The first thing that usually jumps out is the color. As a general rule, white means deep, safe water, while deepening shades of blue indicate shoaling water. This simple color code is your first, instant clue about where your boat can and can't go. It's a quick visual check that helps keep you out of trouble before you even dive into the details.
But the real magic is in the shorthand—the specific symbols and abbreviations that paint a complete picture of the unseen world beneath your hull.
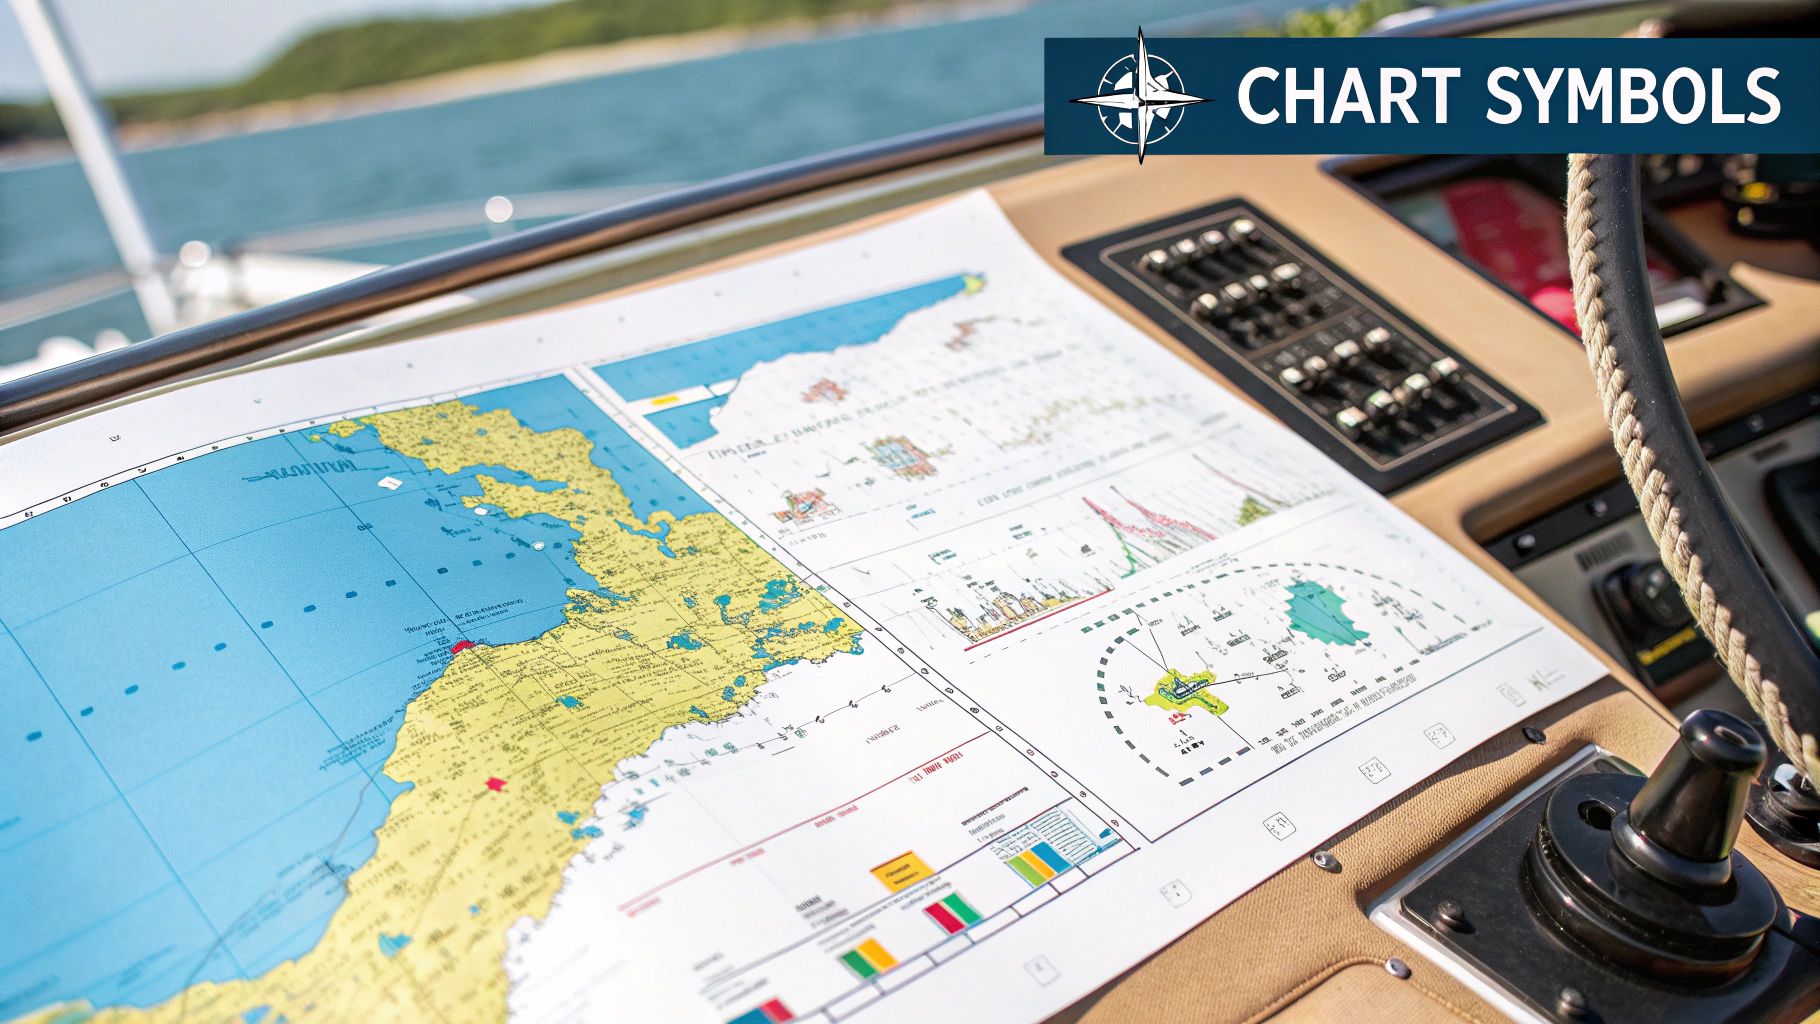
Understanding Key Symbols and Aids to Navigation
The "road signs" of the sea are officially known as Aids to Navigation (AtoNs). These are the buoys, beacons, and markers that guide you safely through channels and warn you away from danger. They have a standardized system of shapes, colors, and even light patterns for nighttime navigation that you absolutely must know.
You've probably heard the classic rule: "Red, Right, Returning." It’s a foundational mnemonic that means when you’re coming into a harbor from the open sea, you keep the red, even-numbered buoys to your right (starboard) side. Simple, but it's one of the cornerstones of safe coastal navigation.
Of course, a chart does more than just show you where the buoys are. It points out all the things you really want to avoid.
- Wrecks: A symbol of a half-submerged hull means part of the wreck is visible. A dotted circle labeled "Wk" tells you it's fully submerged and waiting to ruin your day.
- Obstructions: Keep an eye out for "Obstn" or specific icons for rocks. A little plus sign (+) is a common symbol for a rock that's hidden just below the surface, especially at low tide.
- Cables and Pipelines: You'll see these marked with dashed lines and labels like "Cable Area." These are no-go zones for anchoring; dropping your hook here is not only prohibited but extremely dangerous.
Knowing what the bottom is made of is crucial for anchoring. Chart abbreviations like ‘S’ for sand, ‘M’ for mud, ‘R’ for rock, or ‘Cy’ for clay tell you whether your anchor will dig in and hold or just skip along a hard bottom. It's a small detail that makes a huge difference.
To make sense of all these markings, it's helpful to have a quick reference. This table breaks down some of the most common symbols you'll encounter on any chart.
Common Nautical Chart Symbols and Meanings
Here's a quick-reference table summarizing essential symbols found on nautical charts, helping you quickly identify key features and hazards.
| Symbol Category | Common Symbol(s) | What It Means | Navigational Action |
|---|---|---|---|
| Buoys & Beacons | Red nun/cone or Green can/square shapes | Marks the edges of a channel. | Follow the "Red, Right, Returning" rule. |
| Hazards | +, * , Rk, Wk | Rocks, wrecks, and other obstructions. | Steer clear. Note if it's submerged or visible. |
| Seabed | S, M, R, Cy | Sand, Mud, Rock, Clay | Determine if it's a good spot to anchor. |
| Depth | Numbers on the chart (soundings) | Water depth at mean lower low water (MLLW). | Ensure you have enough clearance for your keel. |
| Anchorage | An anchor symbol (often in a circle) | A designated or recommended place to anchor. | Anchor here for good holding and protection. |
This isn't an exhaustive list, but it covers the symbols you'll use on nearly every trip. Knowing them by sight is what builds true navigational confidence.
Putting It All Together in a Real-World Scenario
Let's imagine you're navigating into a new inlet. Your chart shows a tight channel marked by red and green buoys. Inside the channel, the chart is white (plenty of water), but just outside the markers, it shifts to light blue and is littered with those little (+) rock symbols.
As you motor further in, you spot a dashed line across the bottom labeled "Cable Area." You know right away not to even think about dropping your anchor there. Just past it, though, you see a note that reads "M Sh" (mud and shells)—perfect holding ground for when you're ready to set the hook.
See how each piece of information builds on the last? That's how you develop a complete operational picture, turning a tricky passage into a confident, safe maneuver. Mastering these symbols is what separates a passenger from a true mariner. If you're planning a trip where these skills are vital, it's also a good idea to run through a boat safety equipment checklist to make sure you're fully prepared.
Mastering Depths and Underwater Contours
Knowing what’s under your boat is the difference between a great day on the water and a very, very bad one. Getting a handle on depths is non-negotiable for any mariner, and it all starts with those little numbers scattered across the chart. We call them soundings.
These numbers tell you the water's depth. But depth in what? The first thing you must do is check the chart's legend to see if you're dealing with feet, fathoms, or meters. Getting this wrong is a classic rookie mistake, and the consequences can be disastrous.
This whole idea of mapping the unseen seabed isn't new, either. Old charts offer a fascinating window into the past, giving us incredible ecological and geological data. A chart from an 1861 expedition along the Brazilian coast, for instance, detailed everything from sand to coral, helping scientists understand how reef structures have changed over 160 years. It's pretty amazing how these old documents are still teaching us things.
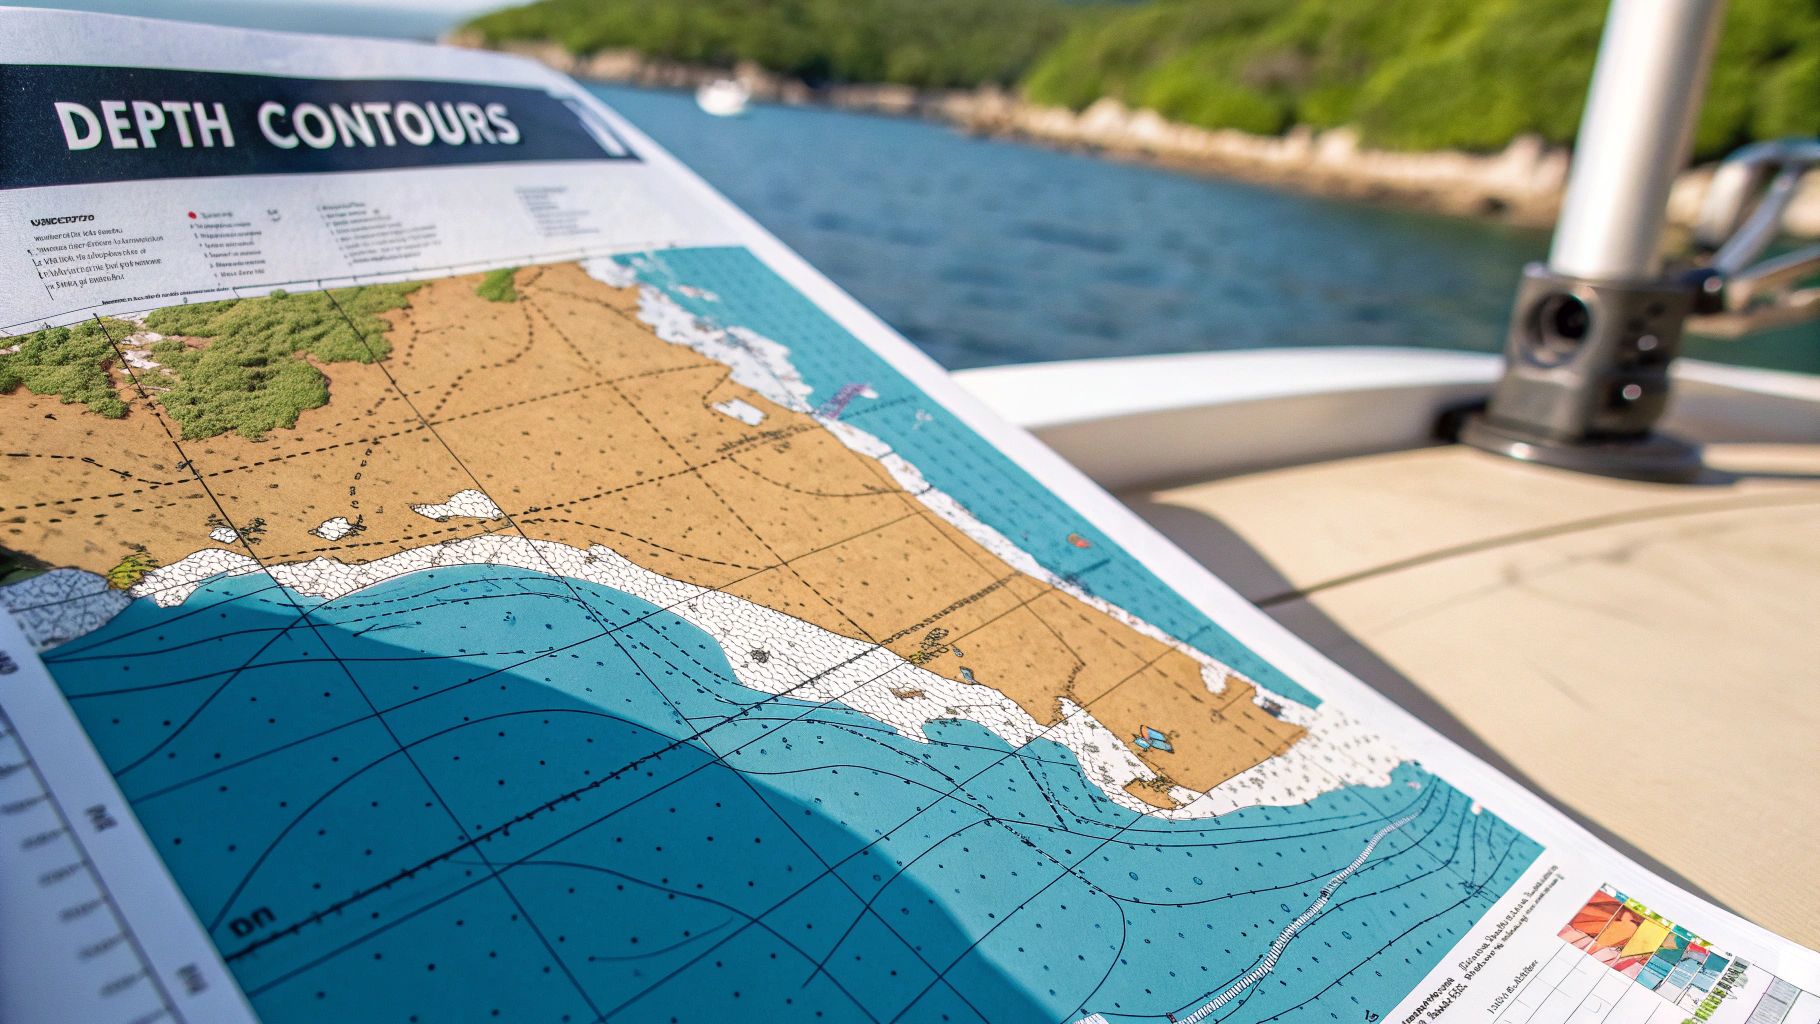
Visualizing the Seabed with Contour Lines
Beyond just the spot-check numbers, the contour lines (or isobaths) are what really bring the underwater landscape to life. Think of them exactly like topographic lines on a land map—they connect points of equal depth.
It's simple, really. When the lines are far apart, you’ve got a gentle, gradual slope. But when they’re packed tightly together? That's a steep drop-off or an underwater cliff. Great for fishing, maybe, but you need to be on your toes.
The numbers you see for depth aren't the actual depth right now; they represent the depth at Mean Lower Low Water (MLLW). This is the average of the lower of the two daily low tides, ensuring the chart shows a conservative, "worst-case scenario" depth.
To figure out the real depth under your keel at any given moment, you have to combine the charted depth with the current tide level. This is where your tide tables become just as important as the chart itself.
Applying Tides for True Depth Calculation
Calculating the real-time depth is a critical skill, especially for coastal cruising. The process is straightforward, but you've got to pay attention to the details.
Here’s how you do it:
- Find the Charted Depth: Pinpoint the sounding for your current position on the chart.
- Consult Tide Tables: Look up the tide information for the nearest station at the current time. This tells you how much higher or lower the tide is than the chart's baseline (MLLW).
- Calculate the True Depth: Add the tide height to the charted depth.
Let’s say your chart shows a depth of 10 feet and the tide table says the tide is currently +3 feet. Your actual water depth is 13 feet. This quick bit of math is what keeps your keel off the bottom, especially in tricky shallow areas like those around the Florida Keys.
Of course, the conditions under the water can be influenced by other factors too, like temperature, which affects marine life and visibility. Checking the Florida Keys water temperature can add another useful layer to your passage planning.
Using Scale, Latitude, and Longitude to Find Your Way
A chart is pretty useless if you can’t find yourself on it. This is where that grid of imaginary lines crisscrossing the globe becomes your most practical tool on the water. These lines, latitude and longitude, are printed along the edges of every single nautical chart, giving you the foundation to pinpoint any location on Earth’s oceans.
Think of it as a street grid for the sea. The latitude scale runs vertically along the left and right sides of your chart, measuring how far north or south you are from the equator. The longitude scale runs horizontally along the top and bottom, measuring your distance east or west of the Prime Meridian. Your GPS spits out these coordinates, and the chart brings them to life.
Reading the Scales for Pinpoint Accuracy
Plotting your position is surprisingly simple. You just find your given latitude on the side scale and your longitude on the top or bottom scale. Where those two lines would intersect is exactly where you are. These coordinates are expressed in degrees (°), minutes (‘), and seconds (“), which allows for incredible precision.
But the latitude scale pulls double duty. It’s also your go-to tool for measuring distance, thanks to a fundamental rule of marine navigation that every sailor lives by.
One minute of latitude is equal to one nautical mile. This relationship is the simplest, most reliable way to measure distance at sea. You just open your dividers to the distance on the chart, then hold them up to the latitude scale to read how many nautical miles that is. Easy.
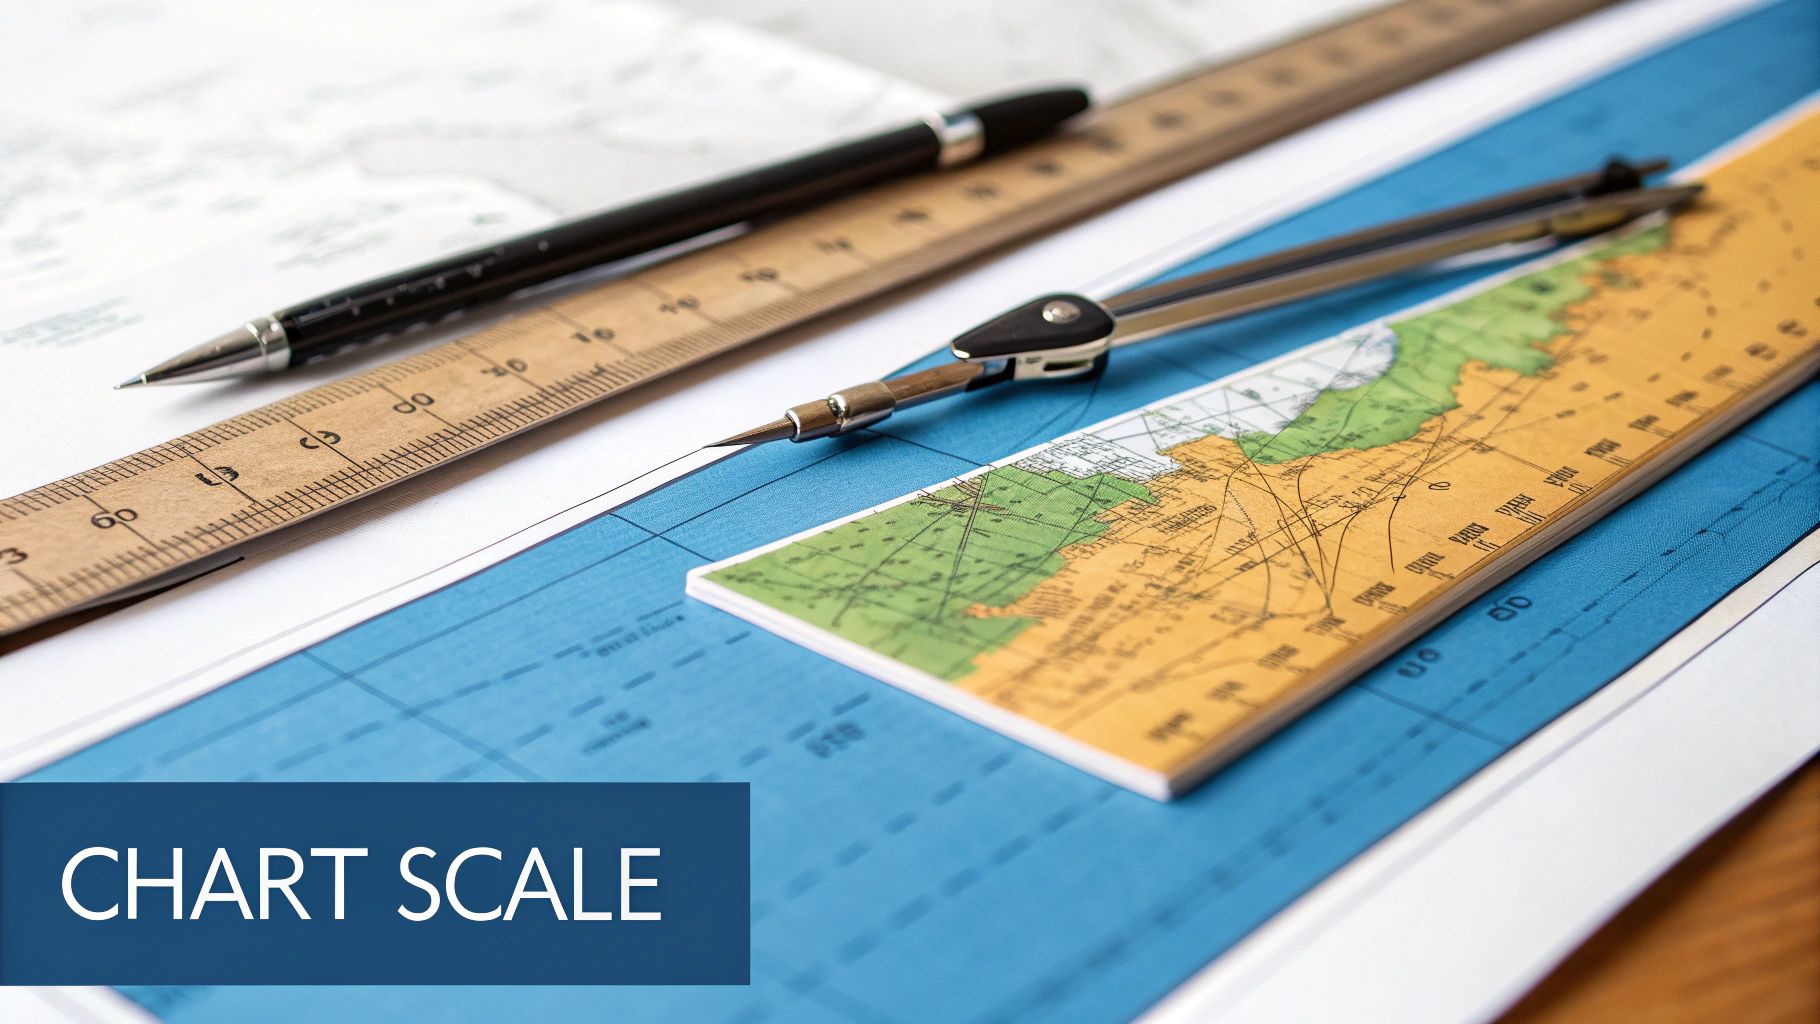
Choosing the Right Chart Scale
Not all charts are created equal. The chart scale, which you'll find in the title block, tells you the ratio of a distance on the chart to the actual distance on the water. Getting this right is critical for safety.
- Large-Scale Charts (e.g., 1:20,000): These cover a small area but show immense detail. Think individual docks, channel markers, and hidden rocks. You absolutely need these for close-quarters maneuvering in a harbor or inlet.
- Small-Scale Charts (e.g., 1:350,000): These cover a huge area, like an entire coastline, but with far less detail. They're perfect for planning long offshore passages but dangerously inadequate for navigating into a tight anchorage.
Trying to enter a harbor with a small-scale chart is like trying to drive through a city using a map of the entire state—you're flying blind without the critical details. Always match the chart's scale to your immediate purpose. If you're exploring tight channels and reefs, you need the most detailed, large-scale chart you can get. This is especially true in unfamiliar waters, something to keep in mind if you're planning a trip with a boat charter in the Florida Keys.
Let's put it all together. Imagine your GPS reads 24° 40’ N, 81° 05’ W. You'd grab your large-scale harbor chart, find 40 minutes north on the latitude scale, and 05 minutes west on the longitude scale. You mark that spot—your starting point, Point A.
Your destination, Point B, is a mooring buoy at 24° 42’ N, 81° 05’ W. After plotting that point, you'll see both are on the same line of longitude, meaning you're heading due north. Now, take your dividers, measure the distance between the two points, and hold it against the latitude scale. You’ll see it spans exactly two minutes of latitude. That means your destination is precisely two nautical miles away.
Plotting a Course with the Compass Rose
This is where the rubber meets the road—or rather, where the chart meets the helm. The compass rose, that familiar circle printed on every chart, is your key to turning a simple line on paper into a direction you can actually steer. It’s the essential bridge connecting the chart's two-dimensional world to the three-dimensional reality of being on the water.
Take a look at any compass rose, and you'll immediately spot two concentric rings. The outer ring is lined up with True North, which is the geographic North Pole. Simple enough. But the inner ring points to Magnetic North, the direction your boat’s compass needle is actually drawn to. These two are almost never the same, and knowing how to handle that difference is what separates a guess from a real course.
True vs. Magnetic: The Mariner's Dilemma
That gap between true and magnetic north has a name: variation. It’s a purely geographic thing, caused by the Earth’s wobbly magnetic field, and it changes depending on where you are on the planet. Your chart's compass rose will spell it out for you, with a note like "VAR 10° W (2020)" and a mention of its annual change.
But variation is only half the battle. Your boat is its own little magnetic field, thanks to the engine, electronics, and all that metal. This interference, known as deviation, throws another wrench in the works and adds its own error to your compass reading. While variation is location-specific, deviation is entirely unique to your vessel.
Learning to convert the course you draw on the chart (a true course) into one your compass can follow (a compass course) isn't just a neat trick; it's a fundamental skill. It’s the only way to be sure you're actually headed where you think you are. And trust me, staring at a compass for hours on end can get draining, so you'll want to be comfortable. For a few tips on that, check out our guide on how to prevent motion sickness.
From Chart to Compass: A Practical Walkthrough
Let's put this into practice. Imagine you've drawn a line on your chart from your current spot to a buoy a few miles off. Now, grab your parallel rulers and "walk" that line over to the nearest compass rose.
- Find the True Bearing: Lay the edge of the ruler right over the center of the rose. Read the number on the outer (true) ring. Let's say your course is 130° True.
- Apply the Variation: Your chart’s rose says the variation is 10° West. The old saying goes: add westerly variation, subtract easterly. So, we take 130° True + 10° West = 140° Magnetic.
- Correct for Deviation: Time to consult your boat’s deviation card. You find that for a heading around 140°, your deviation is 3° East. Now, we do the opposite of variation: add easterly deviation, subtract westerly. This gives us 140° Magnetic + 3° East = 143° Compass.
That’s it. To follow the route you just plotted, you need to steer a course of 143° on your boat's compass.
Master this conversion. It's the absolute core of traditional navigation. On long passages, even a tiny error can put you miles off course by the time you expect to make landfall. Always, always double-check your math.
It's amazing to think how far the tools for this have come. The invention of the gyrocompass back in 1885 was a huge leap, since it points to true north and couldn't care less about magnetic interference. Of course, modern tools like radar and GPS have changed the game completely, giving us unbelievable precision.
The infographic below breaks down how to identify aids to navigation, which is a crucial part of confirming you're on the right track.
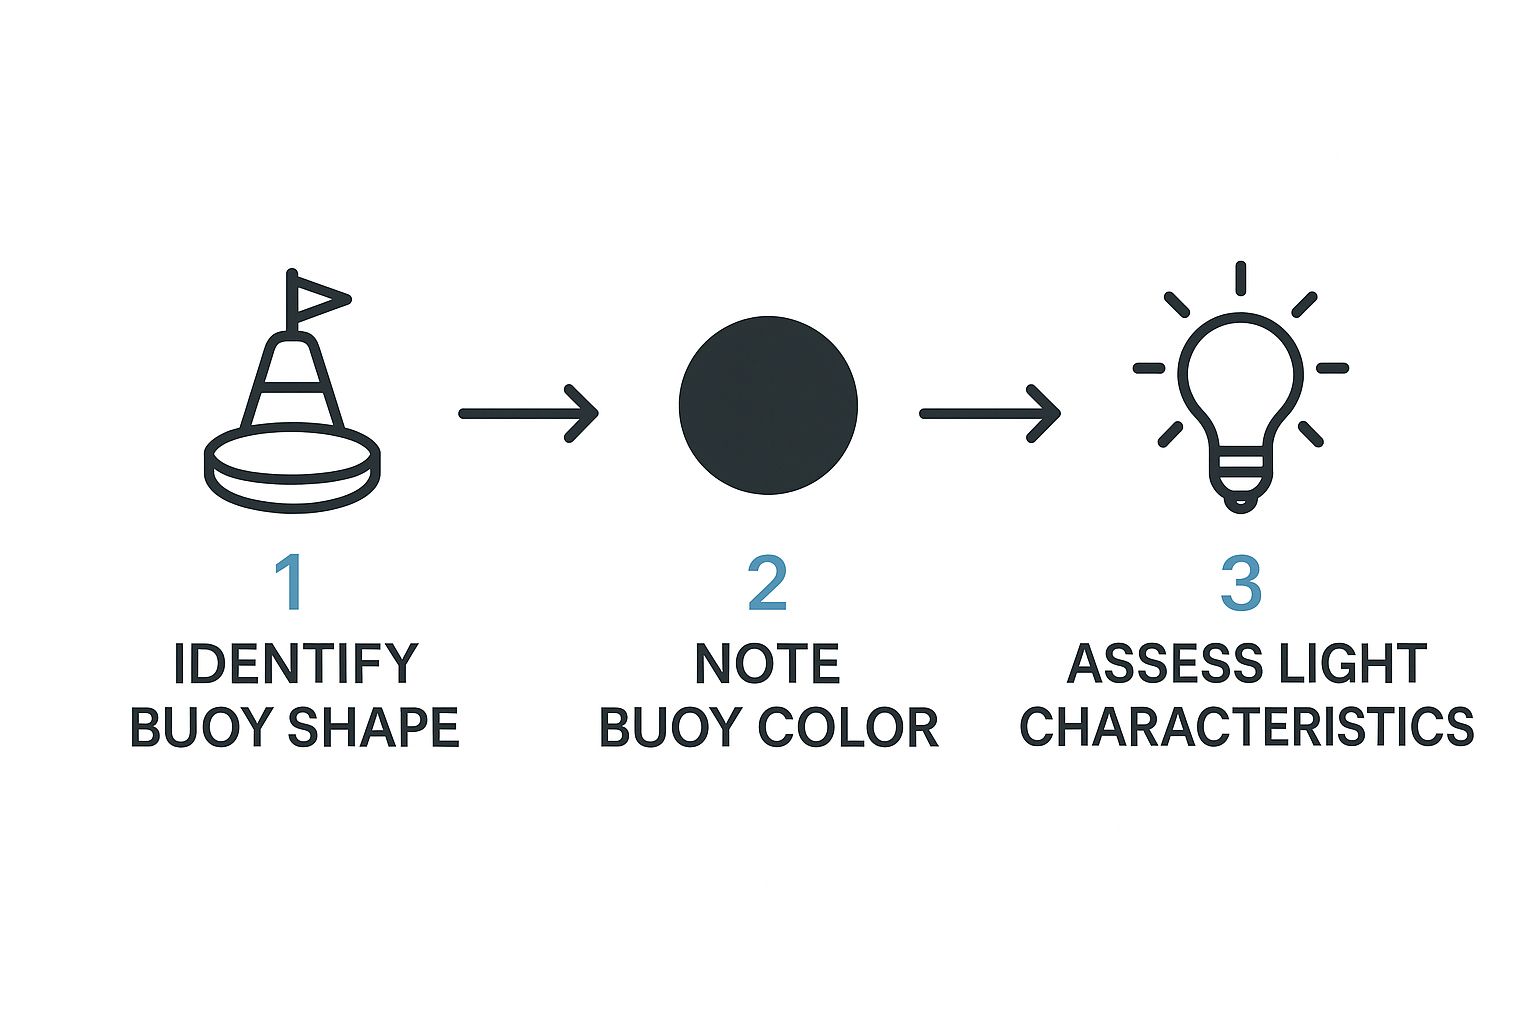
As you can see, the process of observing a buoy's shape, color, and light pattern allows you to identify it with certainty. This is how you confirm your position along the course you've so carefully plotted.
Got Questions About Reading Nautical Charts?
You can study a chart at your kitchen table all day, but things get real once you're out on the water. This is where theory meets the tide, and a few common questions always seem to pop up. Let's tackle some of the ones I hear most often from fellow boaters.
Answering these now will build that practical, on-the-water confidence you need to navigate safely through a busy channel or a tricky anchorage.
https://www.youtube.com/embed/VKKpZwPOvU8
How Often Are Nautical Charts Updated, and Why Should I Care?
Hydrographic offices like NOAA are constantly pushing out updates. These changes, known as Notices to Mariners, are absolutely critical. The marine environment is always shifting—sandbars move, buoys get damaged or relocated, and new hazards like sunken boats can appear literally overnight.
Honestly, using an outdated chart is one of the biggest—and easiest—mistakes to avoid. For electronic charts, updates are usually just a quick download. If you're a purist with paper charts, you'll need to either make the corrections by hand (it’s tedious, but necessary) or just buy a new edition. Before you cast off, always check the edition date on your chart.
What's the Difference Between a Raster and a Vector Chart?
This one comes up all the time, especially as everyone moves to digital navigation. Here’s the simplest way I can break it down:
- Raster Chart: Think of this as a high-quality digital photo of a paper chart. It’s familiar and totally accurate. The downside? When you zoom in, the image just gets bigger and pixelated. You can't click on the symbols or get more info.
- Vector Chart: This is a "smart" chart. It’s built from a database where every buoy, depth sounding, and rock is a separate object. This means you can click on a symbol to get more details, hide layers to reduce clutter, and zoom in smoothly for incredible detail.
While both get the job done, vector charts are pretty much the standard now for chartplotters. They just offer a much more dynamic and user-friendly way to see what's going on beneath your boat.
Can I Just Use My GPS Instead of a Chart?
I get this question more than any other, and the answer is a hard no. Relying only on your GPS is a huge risk and a classic rookie mistake. Electronics fail. It happens all the time from power loss, a stray wave, or signal problems.
Your GPS tells you where you are. A chart tells you what's around you—the shallow spots, the hidden rocks, the shipping channels, and the safe passages.
A chart gives you the kind of situational awareness that a simple blinking dot on a screen never will. It's your most reliable backup and your best tool for actually understanding the environment you're in. The only safe way to navigate is to use your GPS with a chart, whether it's on a screen or spread across your lap.
Knowing how to read your charts is just as vital as any other piece of safety gear you have on board. To make sure you've got all your bases covered, take a look at our complete boat safety equipment checklist. A little preparation can turn a potential emergency into a minor inconvenience.
Ready to put your newfound knowledge to the test in the beautiful waters of the Florida Keys? Join Marathon Snorkeling And Sunset Cruise for an unforgettable adventure. Let our expert, lifeguard-certified crew guide you to the stunning Coffins Patch reef, where you can explore a vibrant underwater world with complete peace of mind. Book your snorkeling trip today!